


Is your system running slowly? Valorant might be the reason. Due to its large storage and resources, it potentially slows down your PC. Many players uninstall it to free up space, improve performance, or make room for new games.
Uninstalling Valorant isn't just about hitting delete. If you don't follow the right steps, you risk leaving behind files, errors, or Riot Vanguard still running in the background. Skipping these steps can lead to uninstallation errors.
So why wait? This article will explain how to completely remove Valorant from your PCthe process using three different methods. Whether you use the Riot Client, Windows settings, or a trusted third-party tool, we'll walk you through how to uninstall Valorant completely from your PC.
How to Delete VALORANT via Master Uninstaller
Tired of following multiple steps just to uninstall a single program, only to find leftover files still cluttering your system? Master Uninstaller is here to solve your problem. It is a powerful tool designed to remove unwanted apps, stubborn programs, and hidden residual files, ensuring a cleaner and faster PC with just one click. You don’t have to search for leftover Riot Client or VALORANT files manually; Master Uninstaller takes care of everything automatically.
Steps to Uninstall VALORANT Using Master Uninstaller
Step 1: Access Master Uninstaller
- Launch Master Uninstaller from your desktop or Start menu.
Step 2: Find VALORANT in the List
- Once inside the Master Uninstaller, scroll through the list of installed applications to locate VALORANT. Click the Bin icon or select Uninstall to begin.
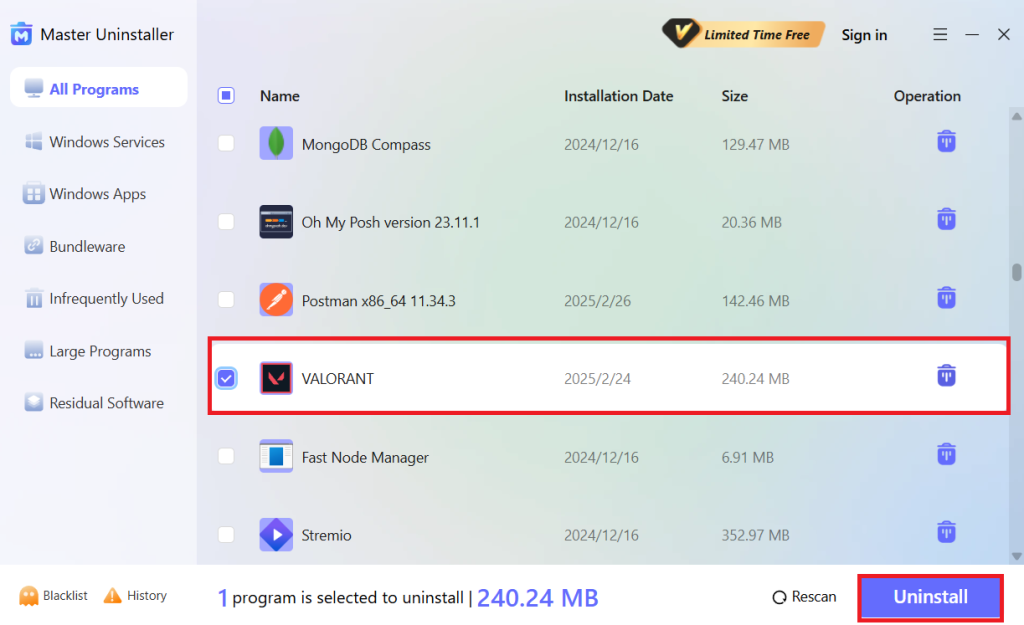
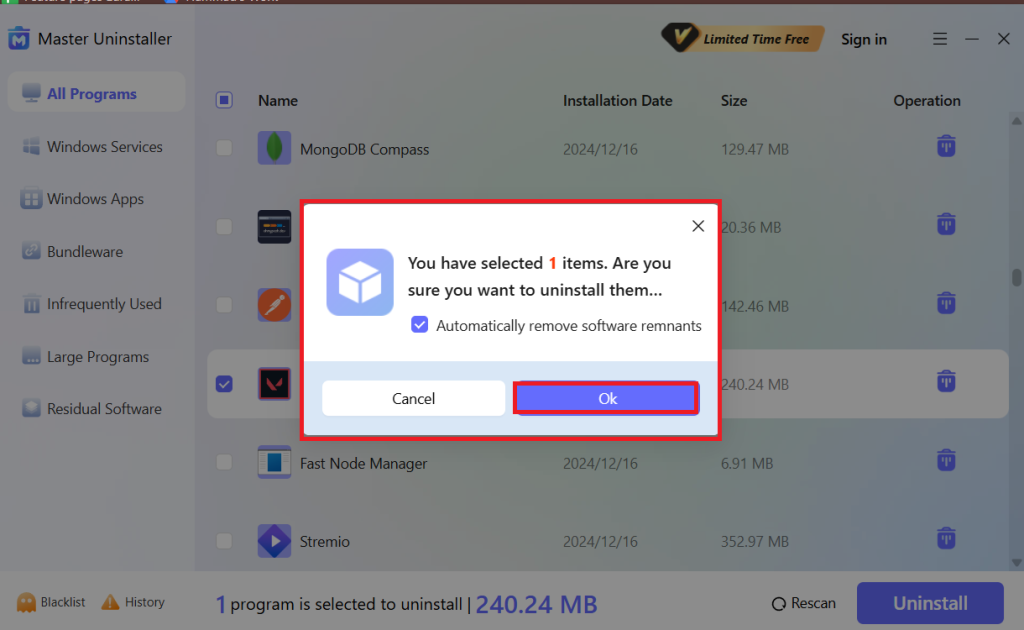
Step 3: Uninstall the Program
- After clicking Uninstall, a confirmation pop-up will appear. To ensure a complete cleanup, check the option to remove software remnants, then hit OK to proceed automatically.
Step 4: Permanently Block It (Optional)
- Before completing the process, you’ll get an option to block VALORANT permanently. If you don’t want it reinstalling without permission, hit Block, and it will be sent to the Blacklist folder.
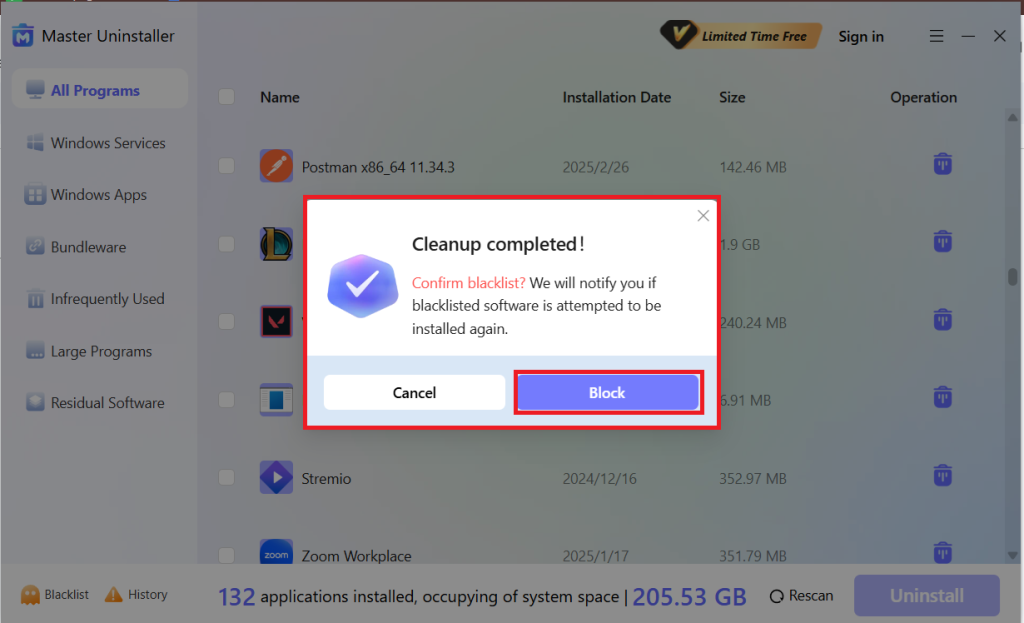
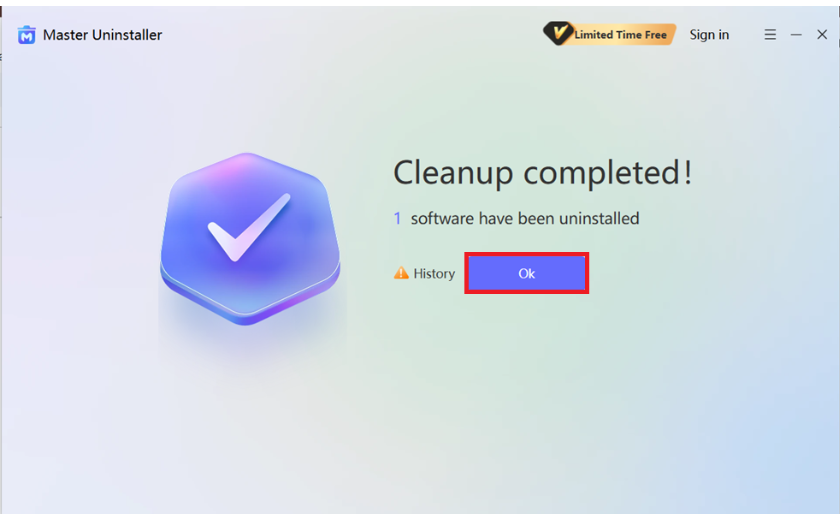
Finally, hit OK, and VALORANT is completely removed—no leftover files, no extra steps needed!
2 Proven Methods to Uninstall Valorant from Your PC
Uninstalling Valorant may seem simple, but improper removal can leave behind unwanted files or cause errors. To make your process easier, we have two different methods to answer your question about how to uninstall Valorant from your PC easily.
1. Uninstallation of Valorant on Windows 11
If you prefer a straightforward way to remove Valorant, Windows 11's built-in settings provide a quick solution. However, there may be leftover files, so you must follow additional steps to complete the uninstallation. Follow these simple steps to know how to uninstall Valorant on Windows 11.
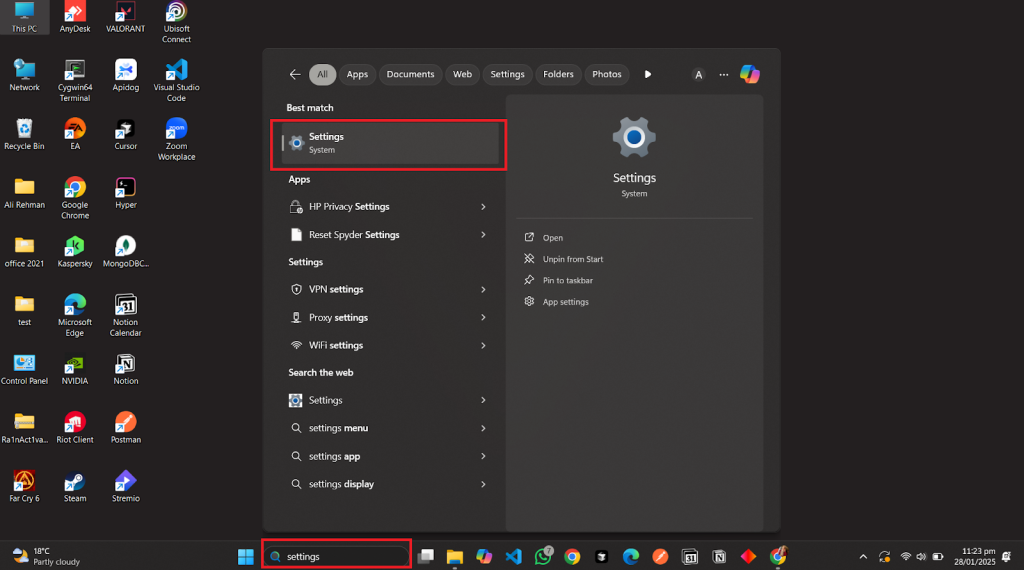
Step 1: Open the Settings App
- Press Win + i to open Settings instantly. Alternatively, you can type Settings into the Windows search bar and open it there.
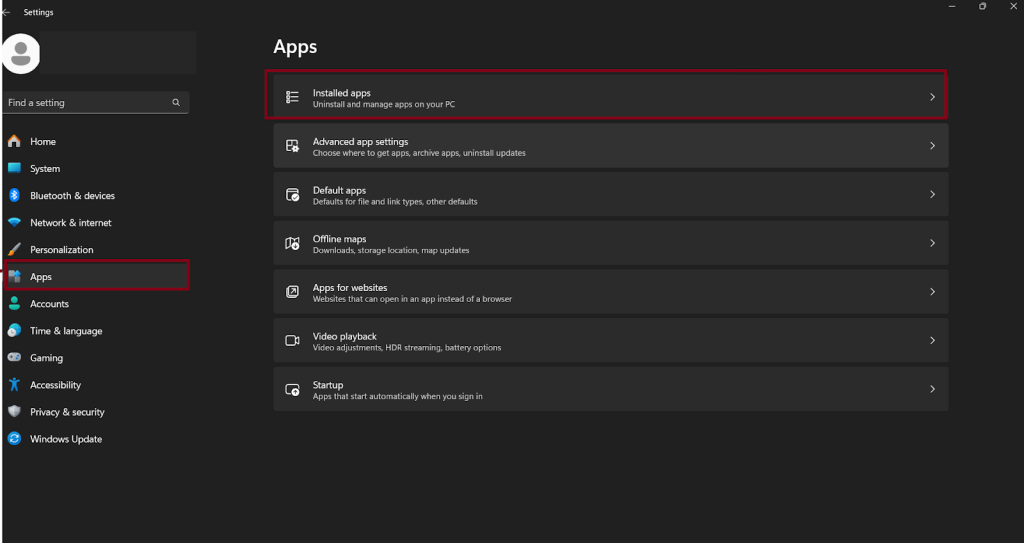
Step 2: Navigate to Installed Apps
- In Settings, navigate to Apps > Installed Apps.
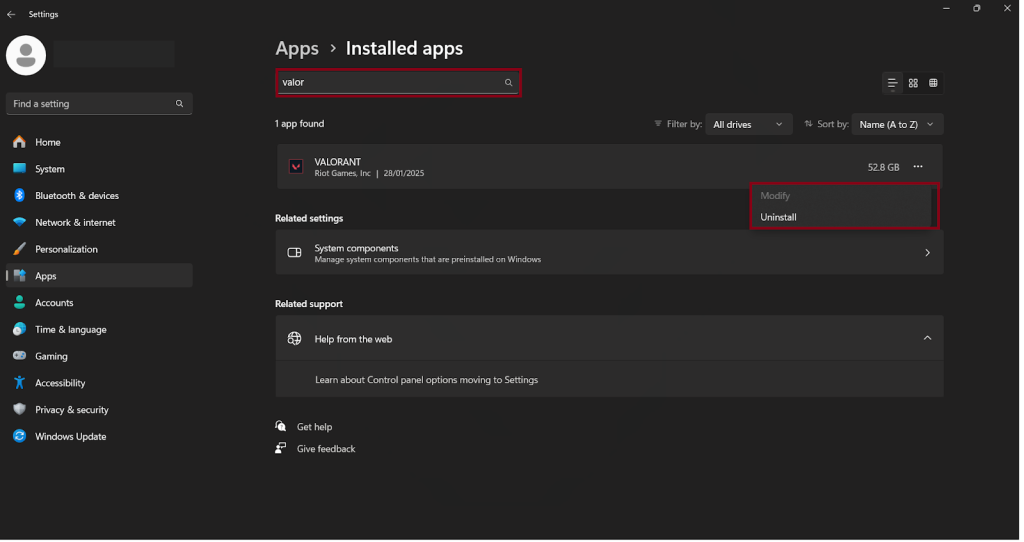
Step 3: Uninstall Valorant
- Search for Valorant in the list, click the three-dot menu on the right, and select Uninstall. And just like that, Valorant is gone!
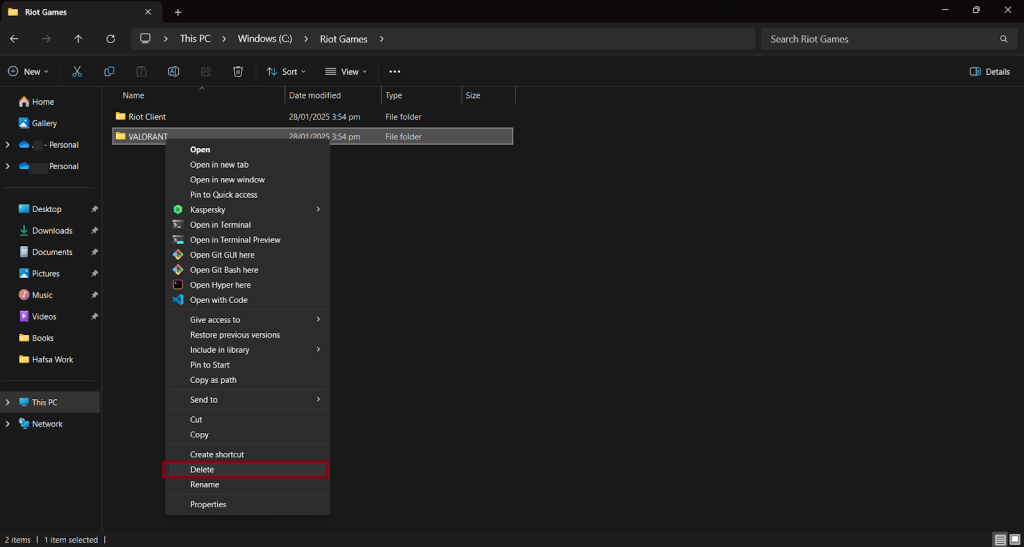
Step 4: Delete Leftover Files
- We're not quite done yet! Open File Explorer and go to your C: drive. Find the Riot Games folder and delete the Valorant folder, ensuring proper cleanup.
Once these steps are completed, Valorant should be fully removed from your system. If issues persist, try an alternative method for deeper cleanup.
2. Uninstallation of Valorant through Riot Client
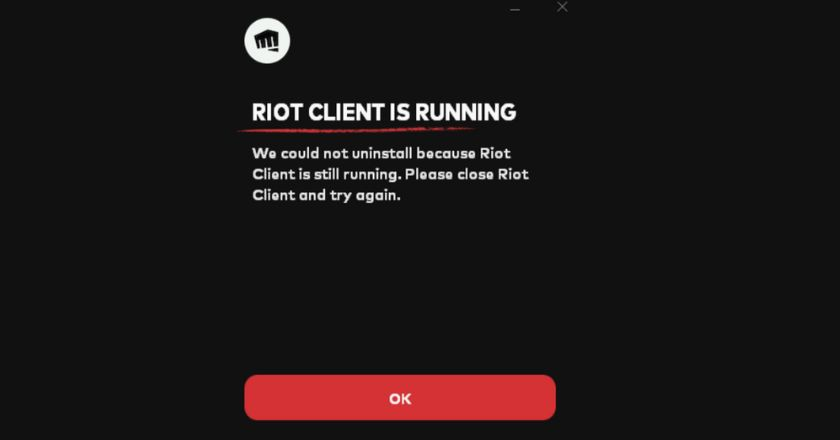
Suppose Riot Client prevents the uninstallation of Valorant by popping up an error that Riot Client is still running. Worry not; we are here to solve this error of how to close riot clients to uninstall Valorant.
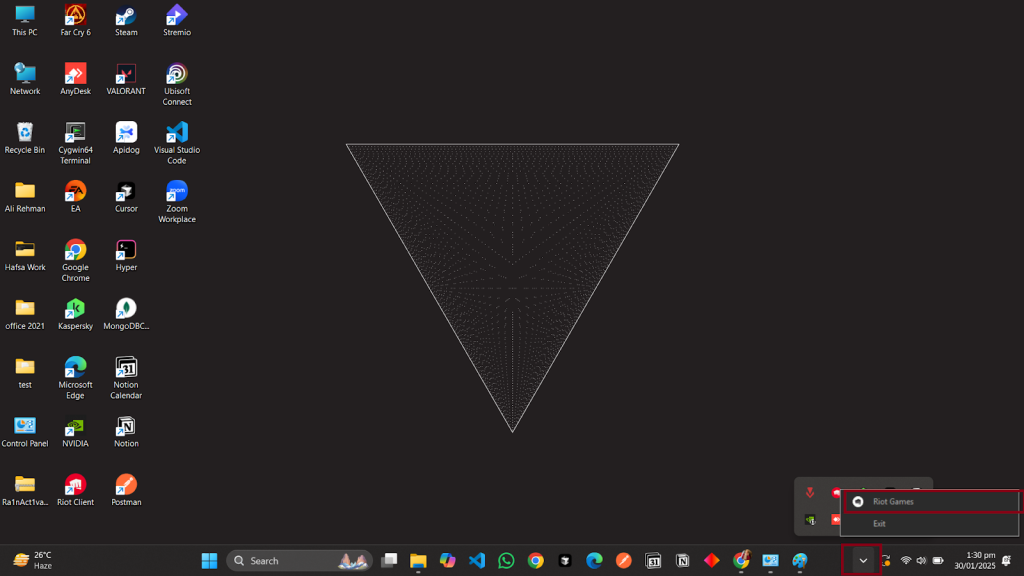
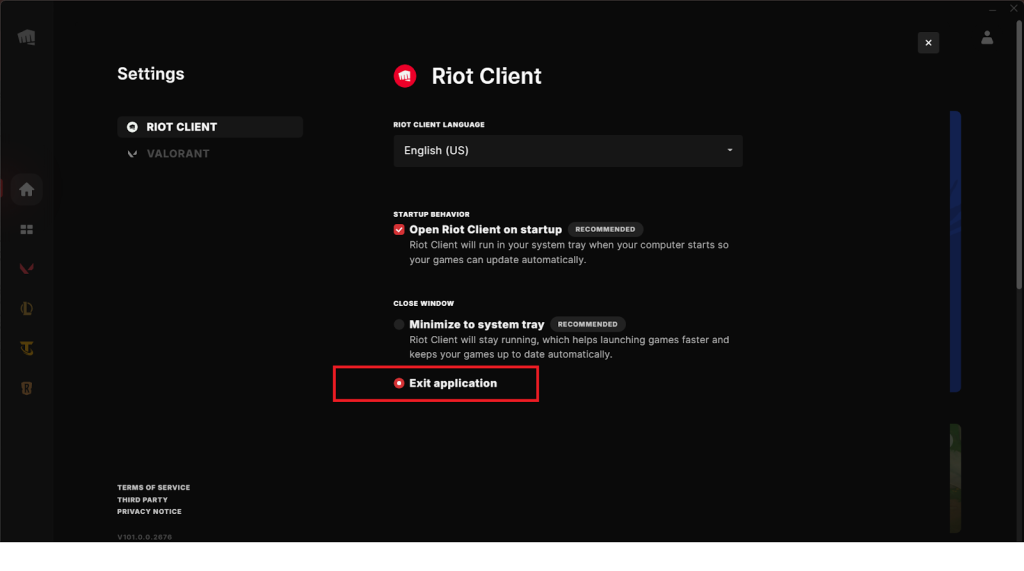
Step 1: Exit Riot Client Properly
- Go to the System Tray at the bottom right of your screen, right-click the Riot Client icon, and select Exit.
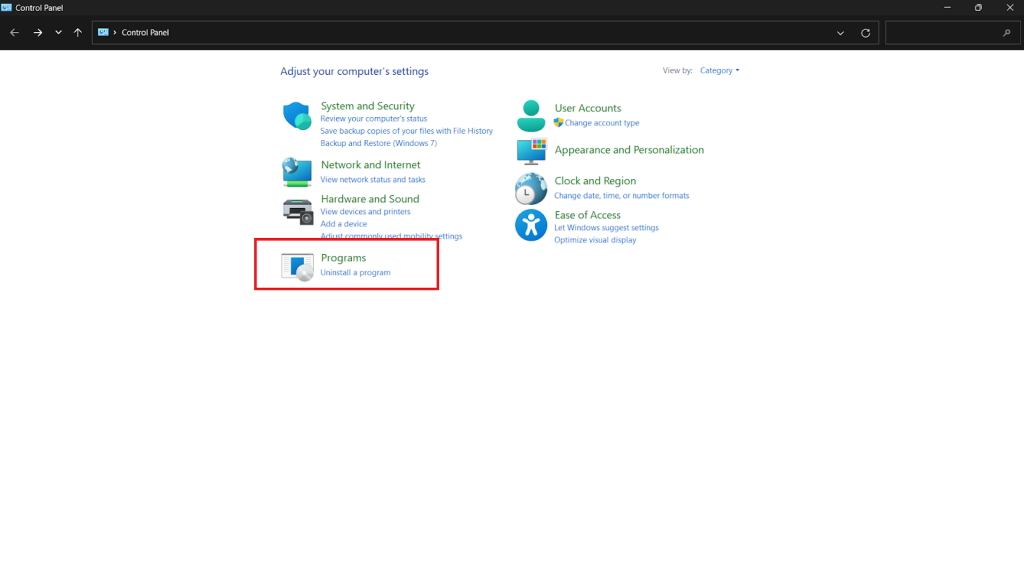
Step 2: Open the Control Panel
- Now press Win+R, type Control Panel, and hit Enter. You'll be redirected to the Control Panel; navigate to Programs > Uninstall a Program.
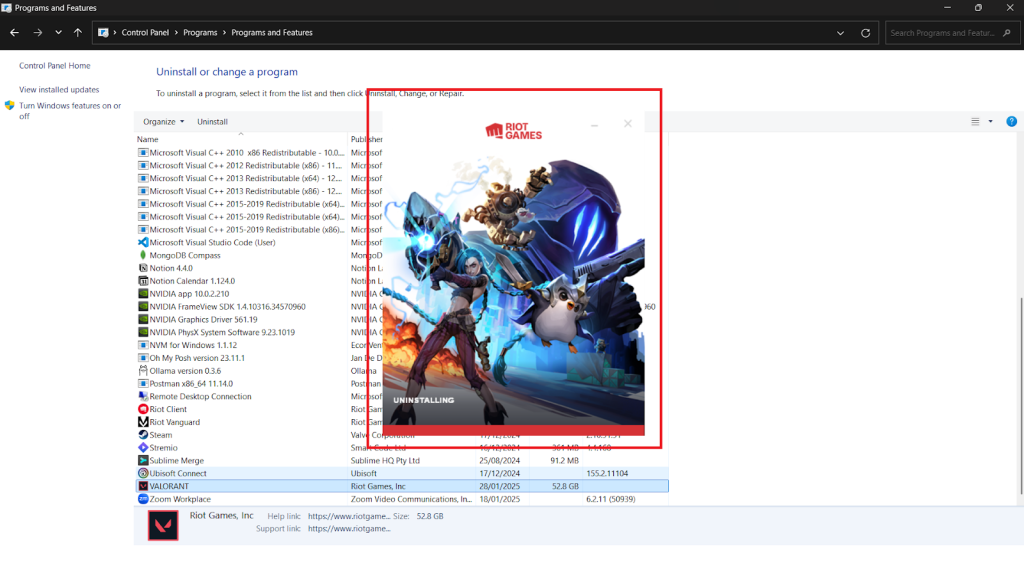
Step 3: Uninstall Valorant
- Find Valorant in the list, right-click, and select Uninstall. Follow the on-screen instructions to remove it. And Voila, you are done uninstalling the Valorant.
Your concerns about how to uninstall Valorant on the Riot Client end are here!
If following various steps isn't your go-to preference, the next method is for you. A faster method to remove the Valorant and left overfiles with just one click.
Step-by-Step Guide to Complete Software Removal
If you have opted to uninstall directly from Windows or manually via Riot Client, leftover files and registry entries may remain. Following these steps will resolve your curiosity about how to uninstall Valorant completely.
Check for Leftover Files Using File Explorer
- Open File Explorer and go to the following locations:
- C:\Program Files\Riot Games
- C:\ProgramData\Riot Games
- C:\Users\YourUsername\AppData\Local\Riot Games
- Delete any folders related to Valorant or Riot Games
Remove Registry Entries Using Registry Editor
- Press win + r, type regedit, and hit Enter.
- In the Registry Editor, navigate to:
- HKEY_LOCAL_MACHINE\SOFTWARE\Riot Games
- HKEY_CURRENT_USER\Software\Riot Games
- Right-click on any Riot Games or Valorant folders and select Delete.
How to Verify Uninstallation of the Valorant?
After uninstallation, how would you know whether Valorant is completely removed from your system?
Let's look at the methods and tools to verify the complete uninstallation of the Valorant.
Methods to Confirm Valorant is Fully Uninstalled
- Check Installed Programs: Open Control Panel > Programs & Features and ensure Valorant is not listed. If it appears, uninstall it again.
- Verify in Task Manager: Press Ctrl + Shift + Esc, go to Processes, and confirm no Valorant or Riot Client tasks are running.
- Inspect File Explorer: Delete any remaining Valorant or Riot Games folders from C:\Program Files, C:\ProgramData, and AppData\Local.
Tools to Ensure No Remnants Are Left
- Disk Cleanup: Open Disk Cleanup, select your primary drive (C:), and remove temporary files related to Valorant.
- Registry Editor: Press win + r, type regedit, and delete Valorant or Riot Games entries under:
- HKEY_LOCAL_MACHINE\SOFTWARE
- HKEY_CURRENT_USER\Software
- Third-Party Uninstallers: IObit Uninstaller or Revo Uninstaller can scan and delete leftover files.
5 Bonus Tips for a Smooth Process
Uninstalling a program like Valorant can be frustrating when residual files slow down your PC. And if you're wondering how to uninstall Valorant smoothly, here are five tips to help you with Valorant complete removal.
- Close Valorant Completely: To prevent uninstallation errors, end all Valorant-related processes in Task Manager before starting the removal process.
- Restart Before and After Uninstallation: A fresh reboot helps clear background processes and applies all system changes correctly.
- Check Antivirus Settings: Some antivirus software blocks uninstallation. Turn If something goes wrong, temporarily turn off your antivirus, but remember to turn it back on afterward.
- Manually Remove Excess Files: Once uninstalled, go to %appdata% and delete all remaining Valorant folders to clear up space and prevent clashes.
- Use a Third-Party Uninstaller: Tools like IObit Uninstaller help remove hidden files and registry entries with just one click and error-free uninstallation. Sounds like a relief.
Frequently Asks Questions
Final Words
Knowing how to uninstall Valorant correctly ensures a smooth and error-free process. Whether you use Windows settings, Riot Client, or a third-party tool, each method guarantees complete removal.
Third-party uninstallers are the best choice for a hassle-free cleanup. They eliminate hidden files and optimize system performance. Keeping your PC clean frees up space and prevents future errors. Follow these steps, and you'll quickly have Valorant completely removed.

-

Simple and Practical: Easily uninstall unwanted software.
-
Thorough Cleanup: Completely remove residual files.
-
Blacklist Protection: Identify and block malware and adware.