


Getting rid of Riot Client isn’t as simple as uninstalling a regular program. If you’ve ever installed games like VALORANT or League of Legends, you’ve probably noticed that Riot Client and Riot Vanguard get installed along with them. These programs manage game updates and anti-cheat services but run in the background, sometimes consuming system resources even when you're not playing.
Many users want to uninstall Riot Client due to performance issues, switching to other games, or troubleshooting installation errors. However, simply removing VALORANT or League of Legends won’t thoroughly uninstall Riot Client, you need to remove it manually for a complete cleanup.
This guide’ll cover three quick and effective methods of how to completely remove Riot Client from your system. Whether you prefer built-in Windows tools like Control Panel and Settings or want an automated solution using Master Uninstaller, we’ve got you covered. Follow these steps to ensure no leftover files or Riot Vanguard services remain on your PC.
2 Factors to Consider Before Uninstalling Riot Client
Many users uninstall it only to realize their games won’t launch properly, Riot Vanguard is still lurking in the background, or they’ve missed crucial steps that could’ve saved them time. If you don’t want to deal with error messages or leftover files or can’t uninstall Riot Client, save time and look at these factors before uninstalling Riot Client. A little preparation now can save you a lot of frustration later.
1. Backup Game Data
Uninstalling Riot Client won’t delete your games, but it might reset some settings you care about. If you’ve customized your keybinds, graphics settings, or in-game preferences, it’s a good idea to back them up before uninstalling. Most Riot Games settings are stored in the cloud, but some local configuration files might still be saved on your PC. To be safe:
Step 1: Open File Explorer
- Press Win + E on your keyboard to open File Explorer. This is where you can browse through your computer’s folders and files.
Step 2: Locate the Riot Games Configuration Folder
The settings for each Riot game are stored in different locations. Navigate to the correct folder based on the game you play:
- For League of Legends:
- Click on This PC in the left panel.
- Open Local Disk (C:) (this is usually your main drive).
- Open the Riot Games folder.
- Inside, find and open the League of Legends folder.
- Locate the Config folder, this contains your game settings.
- For VALORANT:
- Click on This PC in the left panel.
- Open Local Disk (C:).
- Open the Users folder.
- Find and open the folder with your PC username (this is your personal user folder).
- Open the AppData folder.
- Inside AppData, open Local → VALORANT → Saved → Config.
Step 3: Copy the Config Folder
- Once you’ve found the Config folder, right-click on it and select Copy.
Step 4: Save the Backup in a Safe Location
- Paste the copied Config folder somewhere secure, such as:
- Your Desktop for easy access.
- A USB drive if you want to keep a copy externally.
- A Cloud storage service like Google Drive or OneDrive.
Step 5: Restore the Settings After Reinstallation
- If you reinstall Riot Client or the game later, copy the Config folder back to its original location to restore your settings.
2. Close Riot Client Properly
Many users struggle to uninstall Riot Client because it’s still running in the background, leading to errors like Riot Client is still running. To avoid this, make sure Riot Client and its processes are fully closed before you attempt to uninstall. Here’s how to do it:
Step 1: Close Riot Client from the system tray
- Click the upward arrow ^ in the taskbar on the bottom-right corner. Right-click on the Riot Client icon and select Exit.
Step 2: End Riot processes in Task Manager
- Press Ctrl + Shift + Esc to open Task Manager and look for the following processes:
- RiotClientServices.exe
- RiotClientUx.exe
- Right-click each one and select End Task.
Step 3: Restart your PC
- To ensure no Riot-related background services are still running.
How to Completely Remove Riot Client from your PC
Riot Client is the central hub for all Riot Games titles, including League of Legends, VALORANT, and Teamfight Tactics. While uninstalling the client won’t delete your games, some files and settings may remain on your system. To altogether remove Riot Client, follow these methods to ensure no leftover data slows down your PC or causes reinstallation issues.
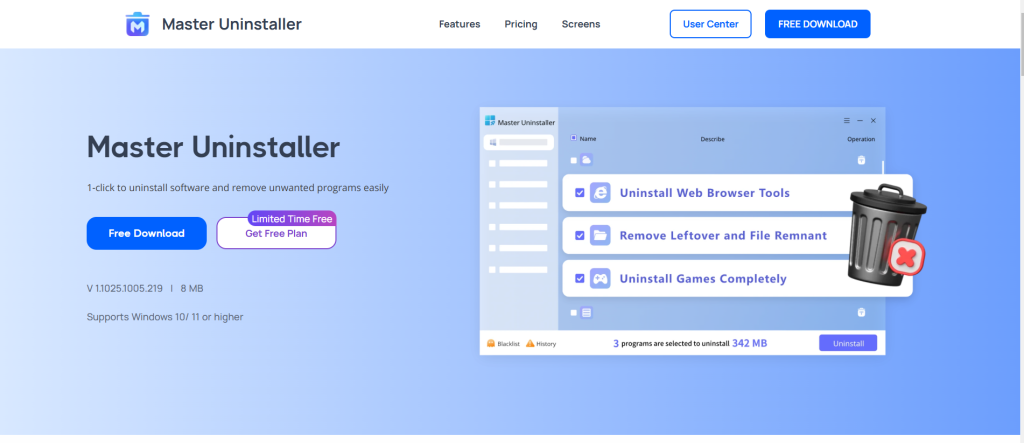
Method 1: Uninstall Riot Client Using a Master Uninstaller
If you’re struggling with how to close Riot Client to uninstall or want hassle-free removal, a Master Uninstaller is the best option. Unlike the standard methods, this tool automatically detects and removes Riot Client, including all leftover files and registry entries. It saves time and prevents installation errors if you plan to reinstall Riot Client. Here’s how to use Master Uninstaller for a complete removal:
Step 1: Download and Install Master Uninstaller
- Download the Master Uninstaller software from its official website and install it on your PC. Open the app and complete the registration process if required.
Step 2: Uninstall Riot Client
- Open Master Uninstaller, navigate to All Programs, locate Riot Client, click Uninstall, and wait for the tool to analyze and remove it.

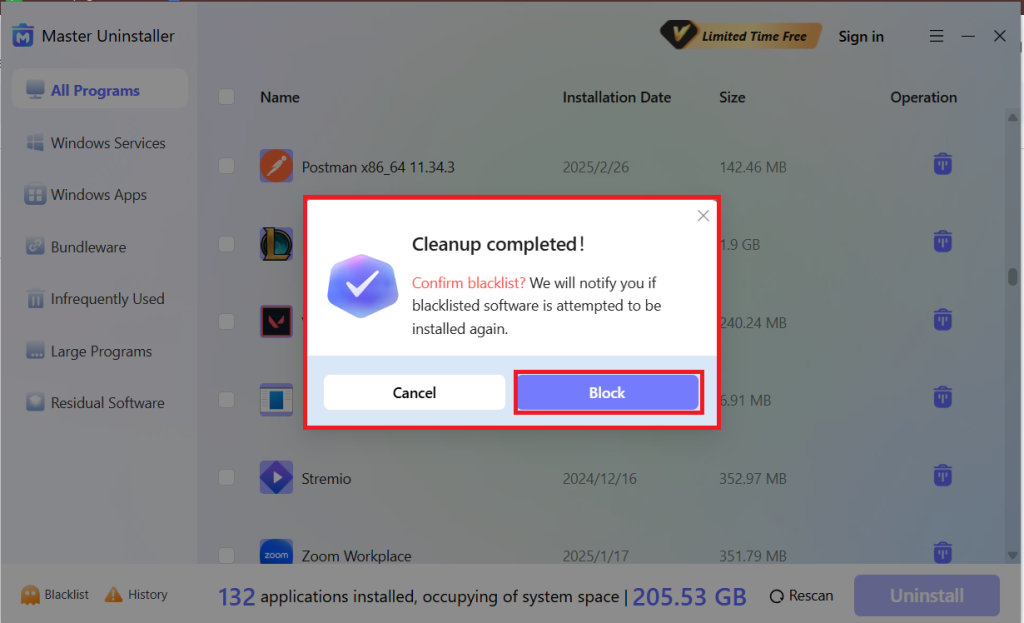
Step 3: Blacklist Riot Client (Optional)
- To prevent Riot Client from reinstalling without your permission, you’ll get an option to blacklist it. Confirm this action to block automatic reinstallation and ensure a clean removal.
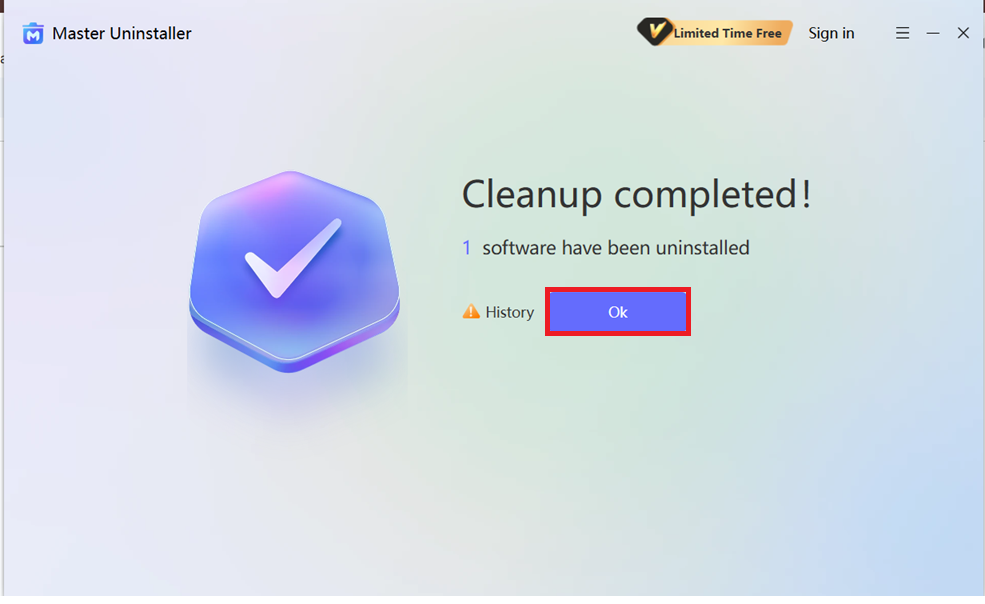
Lastly, hit OK, and Riot Client is completely removed, there are no leftover files, and no extra steps are needed!
Method 2: Standard Uninstall via Control Panel
Using built-in Windows tools, the Control Panel method is the easiest way to remove Riot Client from your PC. However, this method may leave behind residual files, which might cause errors if you plan to reinstall Riot Client later. To ensure a clean uninstall, follow these steps and manually remove any remaining Riot-related data.
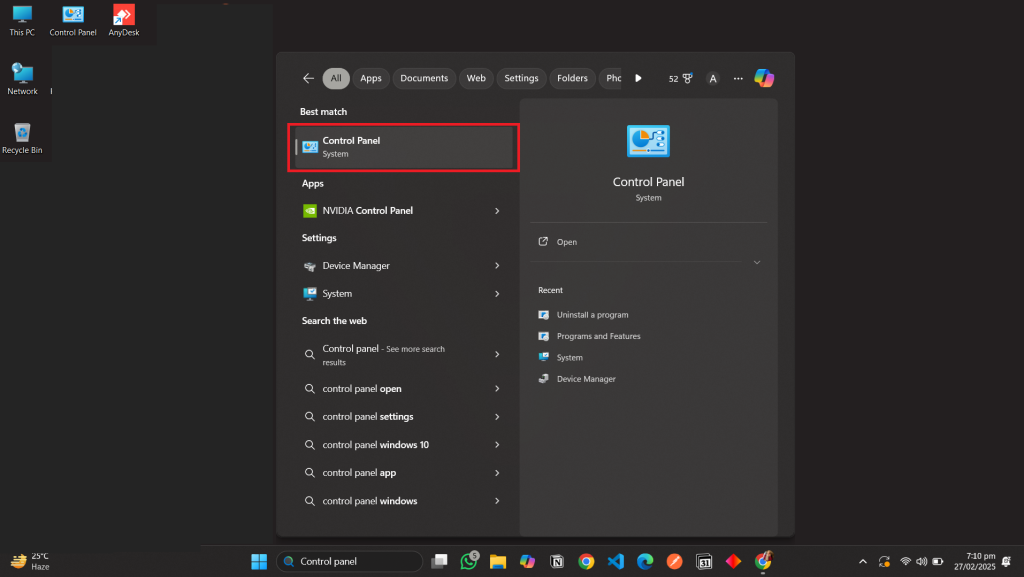
Step 1: Open Control Panel
- Press Win + R, type Control Panel, and hit Enter. Alternatively, you can search for the Control Panel in the Windows Search Bar and open it.
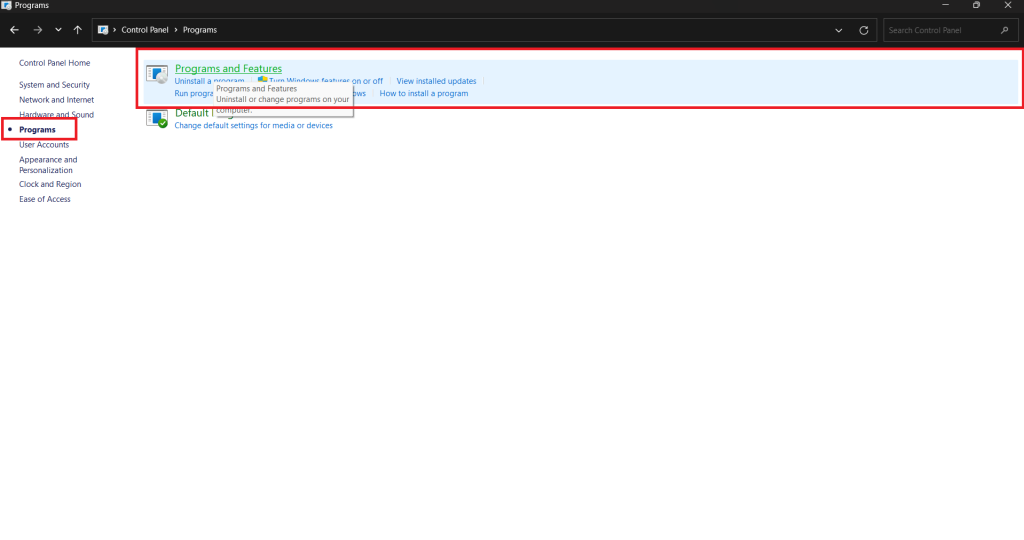
Step 2: Navigate to Programs And Features
- In the Control Panel, click on Programs, then select Programs and Features to view all installed applications.
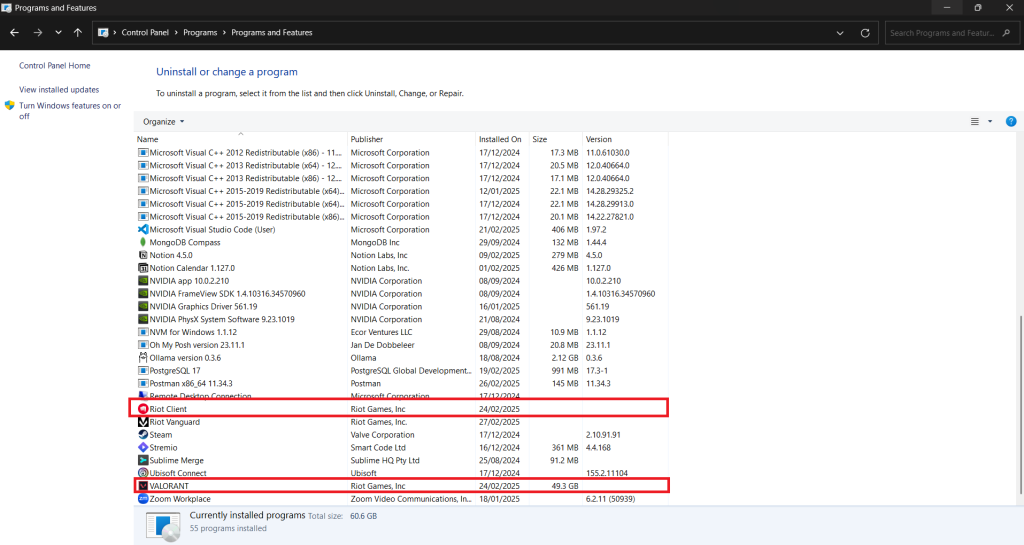
Step 3: Locate Riot Client
- Scroll through the list of installed programs and find Riot Client. If you also want to remove Riot games like League of Legends or VALORANT, locate them as well.
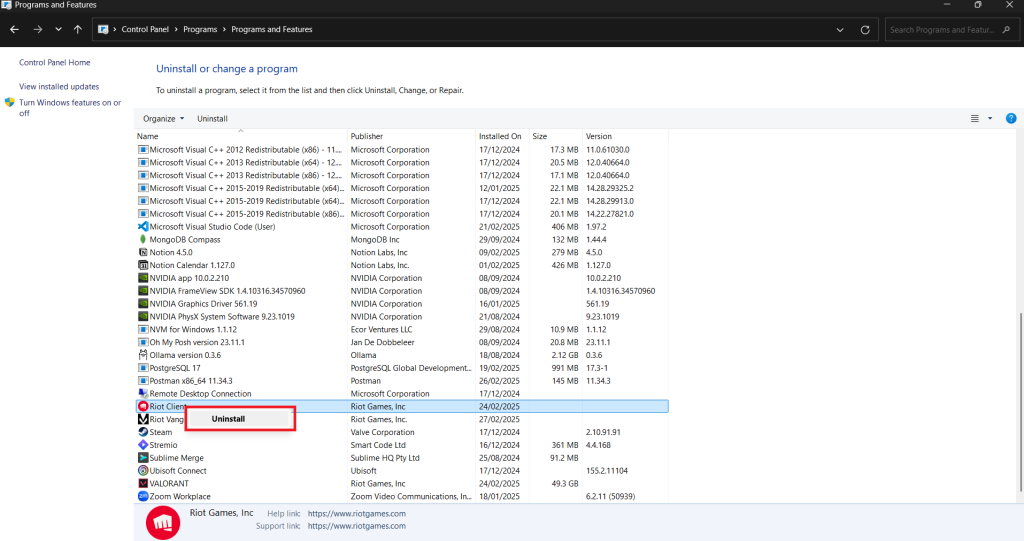
Step 4: Uninstall Riot Client
- Select Riot Client, click Uninstall, and follow the on-screen instructions to confirm and complete the removal process.
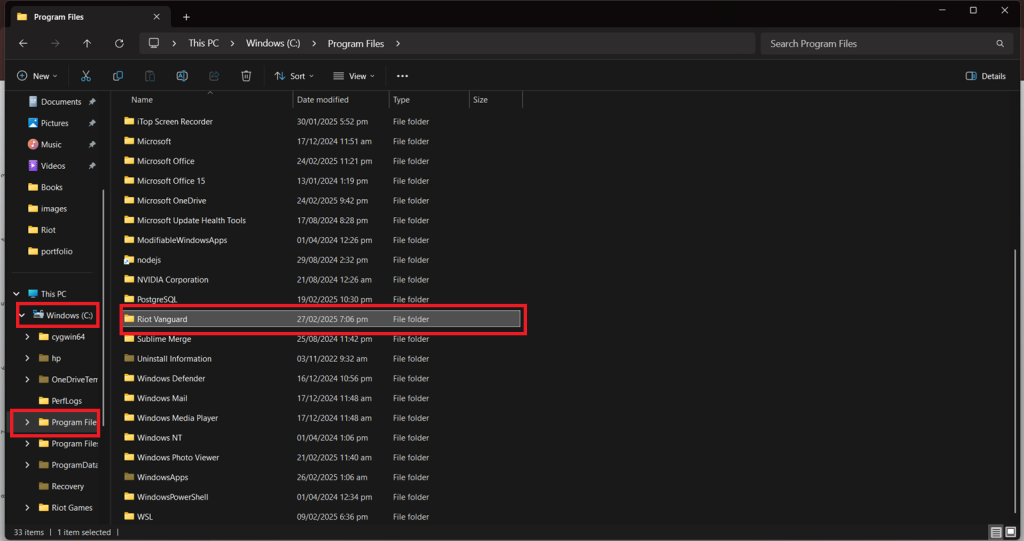
Step 5: Delete Leftover Files (Recommended for a Clean Removal)
- Even after uninstalling, Riot Client may leave behind some residual files. To remove them, go to the C:\ drive even after uninstallation. To ensure the complete removal, navigate to C:\ProgramData and similarly do it in the C:\ProgramFiles, search for any Riot Client folders and delete them manually. Then, empty your recycle bin to free up storage space.
Step 6: Restart Your PC
- After deleting all residual files, restart your computer to ensure Riot Client is fully removed from your system.
Troubleshoot: If you can't uninstall Riot Client, boot into Safe Mode (Shift + Restart → Troubleshoot → Advanced Options → Startup Settings → Restart → Select Safe Mode) and try uninstalling again from the Control Panel.
Method 3: How to Close Riot Client to Uninstall Via Windows Settings
If you’re looking for a quick and straightforward way to remove Riot Client completely, Windows Settings provides an alternative to the Control Panel method. This approach is especially useful in Windows 10 and 11, where the Apps menu allows direct uninstallation. However, like the standard method, it may leave behind residual files, so a manual cleanup is recommended for the complete removal of Riot Client from your system.
Step 1: Open Windows Settings
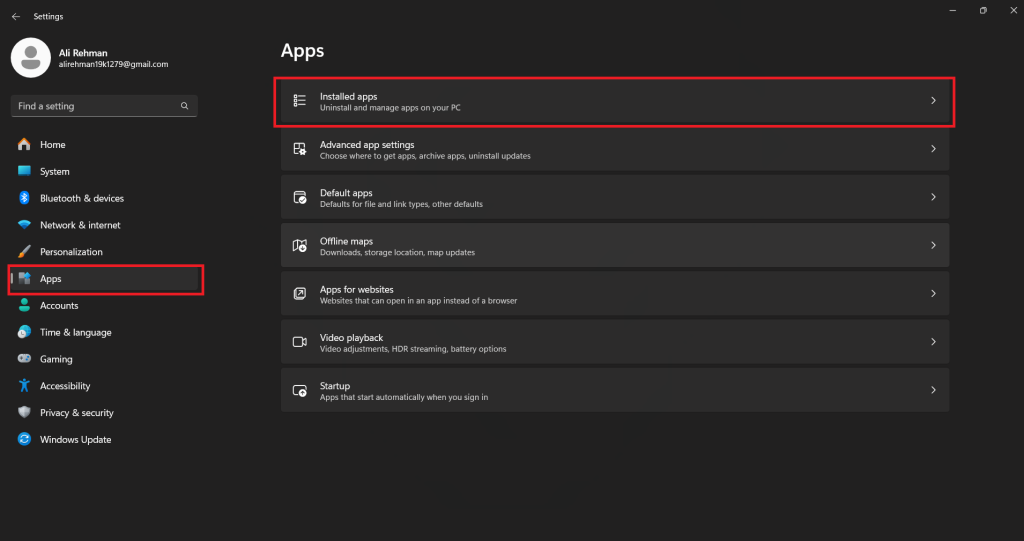
- Press Win + I to open Windows Settings, then click on Apps.
Step 2: Access Installed Applications
- In Settings, go to Apps > Installed Apps to view all installed programs.
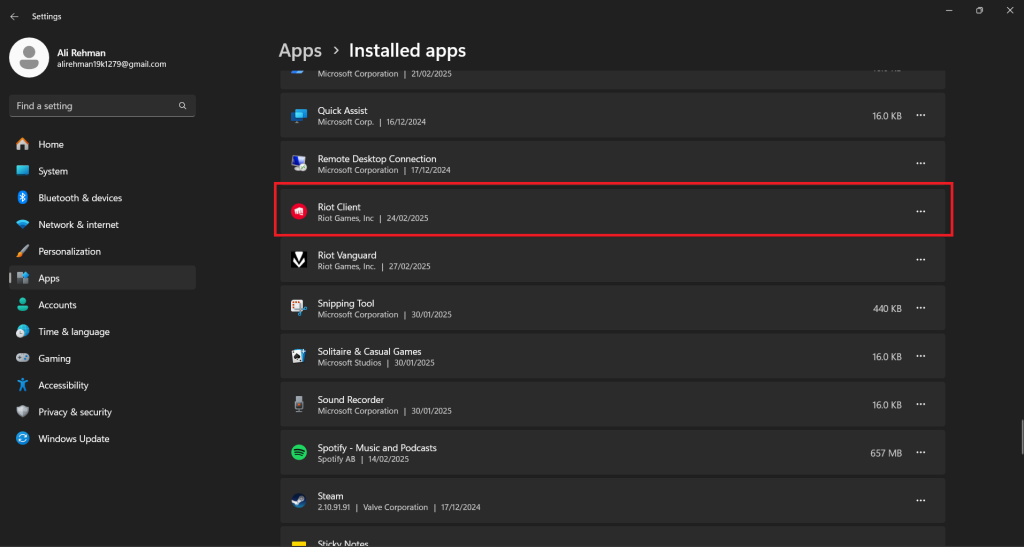
Step 3: Locate Riot Client
- Scroll down or use the search bar to find Riot Client in the list of installed applications.
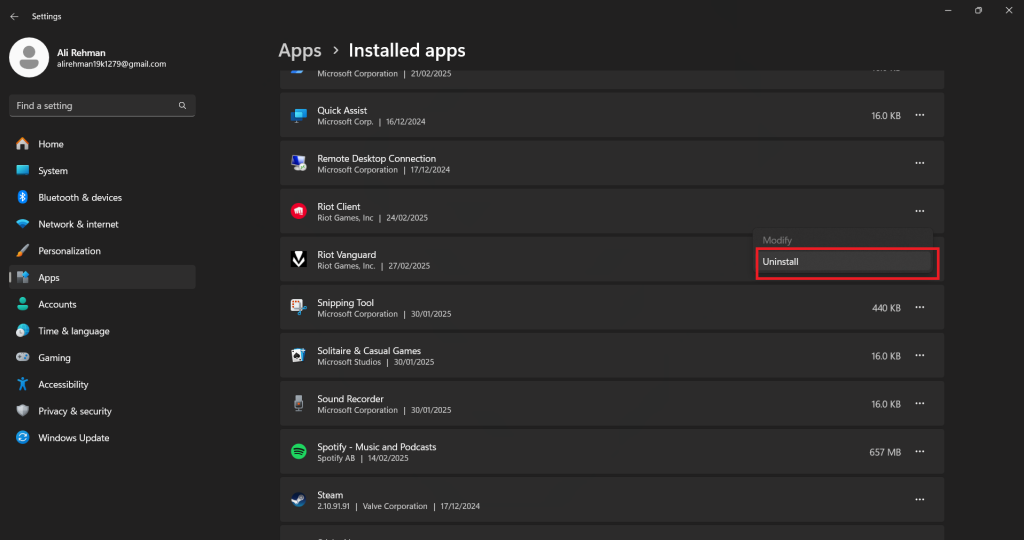
Step 4: Uninstall Riot Client
- Click on Riot Client, select Uninstall, and confirm the action when prompted. Follow the on-screen instructions to complete the removal.
Step 5: Remove Leftover Files (Recommended for a Clean Removal)
- Even after uninstalling Riot Client, some files may remain. To delete them, go to the C:\ drive even after uninstallation. To ensure the complete removal, navigate to C:\Program Files and C:\ProgramData, search for any Riot Client folders and delete them manually. Then, empty your recycle bin to free up storage space.

Step 6: Restart Your PC
- Restart your computer to ensure all Riot Client files are completely removed.
FAQs
Free-Up your Space From Riot Client!
Removing Riot Client isn’t just about uninstalling a single program, it’s about ensuring your system is free from unnecessary background processes, leftover files, and potential reinstallation issues. Many users overlook the hidden Riot Vanguard and game-related data, which can continue running even after uninstallation.
While Windows Settings and Control Panel offer standard removal options, they often leave behind residual files that must be manually deleted. For a cleaner, hassle-free solution, Master Uninstaller provides one-click removal, automatically deleting all associated files and registry entries, with no extra steps required. Master Uninstaller ends your query of how to completely remove Riot client!

-

Simple and Practical: Easily uninstall unwanted software.
-
Thorough Cleanup: Completely remove residual files.
-
Blacklist Protection: Identify and block malware and adware.